What Home EV Charger Installation Involves, Step by Step

Home installation is more than mounting a box on the wall. It follows a clear sequence:
Step 1: Home Assessment

The electrician reviews your main panel — its total capacity, open breaker spaces, and large existing loads such as air conditioning, an electric range, a dryer, and a water heater. They also measure the distance from the panel to where you park and note obstacles like storage, a workbench, or finished walls that affect the wiring route.
Housing in Wichita varies widely. A newer home in Andover or Maize may have a 200-amp panel with a short run to the garage, while an older home in Riverside or College Hill may have a 100-amp panel or a detached garage. Neither rules out charging, but each shapes the plan.
Step 2: Choosing Your Charging Level

Next, you choose between Level 1 and Level 2. Level 1 uses a standard 120V outlet and adds roughly 3 to 5 miles of range per hour. Level 2 uses a 240V circuit and adds roughly 25 to 45 miles per hour depending on circuit size and the vehicle. Most Wichita commuters who drive Kellogg or I-135 daily find Level 2 far more practical. Our guide to Level 1 vs Level 2 charging walks through daily mileage examples.
Step 3: Circuit Design and Equipment Selection

For Level 2, the electrician selects a breaker size — commonly 40, 50, or 60 amps — matches wire size to that breaker and run length, and decides whether the charger will be hardwired or plug into a new outlet. You also choose the charger based on connector type, cord length, scheduling features, and weather rating if it will live outdoors.
If you prefer a plug-in setup, see NEMA 14-50 outlet installation. If you prefer a fixed unit, see Level 2 EV charger installation.
Step 4: Permitting Through MABCD

In the Wichita area, electrical permits for new circuits run through MABCD, the Metropolitan Area Building and Construction Department. A new 240V circuit for an EV charger needs a permit and an inspection. Your electrician typically handles the application as part of the job. Our EV charger permit guide for Wichita explains the process in plain language. The inspection confirms breaker sizing, wire protection, and grounding for a continuous load — EV charging counts as continuous because it can run at full draw for three hours or more.
Step 5: Installation and Inspection
On installation day, the electrician runs the circuit, mounts the charger or outlet, labels the breaker, and tests charging with your vehicle. A straightforward garage install often takes a few hours; longer runs, panel work, or trenching take longer. After installation, the permitted work is inspected. Keep the manual and permit paperwork together — they help if you later need EV charger repair or an EV charger replacement.
Level 1 vs. Level 2 at Home
Level 1 needs no new circuit, which makes it a reasonable start for low-mileage drivers and plug-in hybrids. The tradeoff is speed: 10 hours overnight adds roughly 30 to 50 miles. If your round trip is under 30 miles, that can be enough. If you drive from west Wichita to Derby or Goddard to northeast Wichita, you will feel the limit, especially in winter.
Level 2 uses a dedicated 240V circuit. A 32-amp charger on a 40-amp circuit adds around 25 to 30 miles per hour. A 40-amp charger on a 50-amp circuit adds around 30 to 37 miles per hour. A 48-amp charger on a 60-amp circuit adds around 44 miles per hour on vehicles that can accept it. For most drivers, even the smaller Level 2 setup refills a typical day in two to three hours.
If you expect to add a second EV, installing a larger circuit now — where panel capacity allows — can be more efficient than revisiting the project later. See all charging services and our guide to EV charger installation cost factors.
When the Garage Outlet Stops Being Enough

Many new owners start with a standard outlet and good intentions. For a few weeks, it works. Then a busy weekend, a trip to Cheney or Hutchinson, a cold snap, or a schedule change leaves the battery lower than expected on Monday morning. Public charging fills the gap, but it costs time and turns a convenient vehicle into a chore.
The deeper problem is electrical. Homes built before EVs were common were not designed for a large continuous load in the garage. Panels may be near capacity, breaker spaces may be full, and the only garage receptacle may be shared with a freezer and power tools. Adapters and extension cords create heat and voltage drop, and extension cords should never be part of a permanent setup. Placement matters too: a charge port far from the outlet means dragging a cord across the floor every night — a trip hazard that wears the cord faster.
A Dedicated Circuit Designed Around How You Park
The solution is a dedicated circuit designed for your home, your vehicle, and how you actually park. The electrician sizes the breaker and wire for continuous load, protects the circuit correctly, chooses a mounting location that matches your charge port, and confirms the panel can support the added load — or recommends a panel solution where it cannot.
If panel capacity is the limit, options include a load management device or an electrical panel upgrade for your EV charger. A load calculation based on your actual appliances determines which path fits.
Small details matter too: cord length that reaches without stretching, a holster that keeps the connector off the floor, and a Wi-Fi signal check if you want scheduling features.
Garage, Driveway, and Carport Placement
Placement affects daily convenience for years.
Inside the Garage
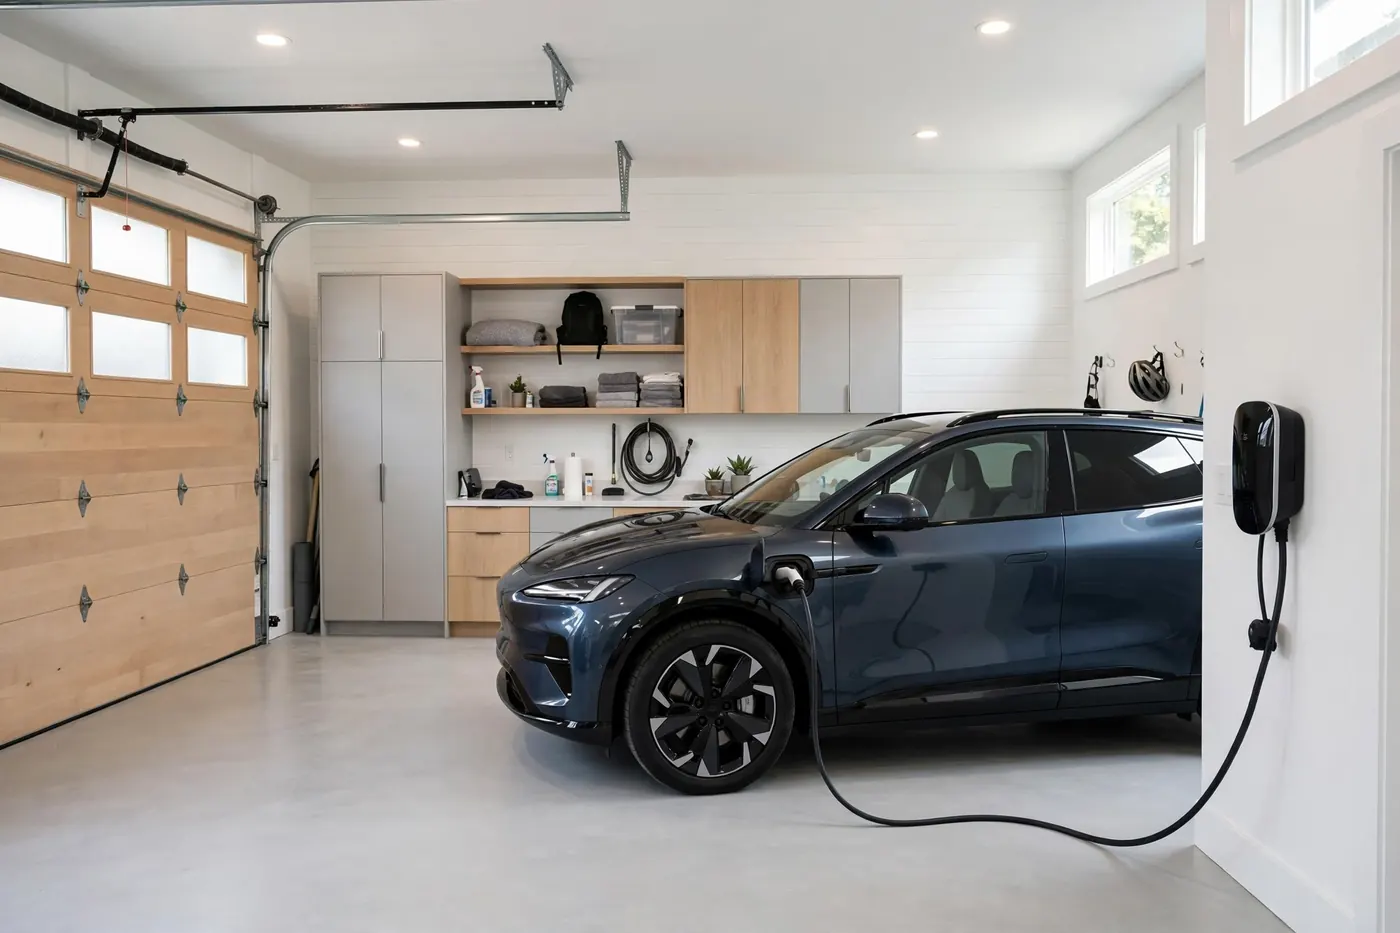
For most Wichita homes, the garage is the natural location. Mount the charger on the wall nearest the vehicle's charge port, at a height that keeps the cord tidy and the connector within reach. Consider which bay you use in winter and whether you pull in nose-first or back in. The cord should not cross the main path from the house door to the car door if it can be avoided, and a wall hook keeps the loop off the concrete.
Driveway, Carport, and Outdoor Parking
If you park in the driveway, an outdoor-rated charger on the garage exterior wall or on a pedestal can work well. It needs the correct weather rating, protected wiring, and attention to snow, ice, and sprinkler spray. Carports need the same weather thinking, plus a solid mounting structure. Wichita summers bring heat and storms and winters bring freeze-thaw cycles, so enclosure rating and cable flexibility matter. See the areas we serve on our locations page.
Checking Your Electrical Panel Capacity
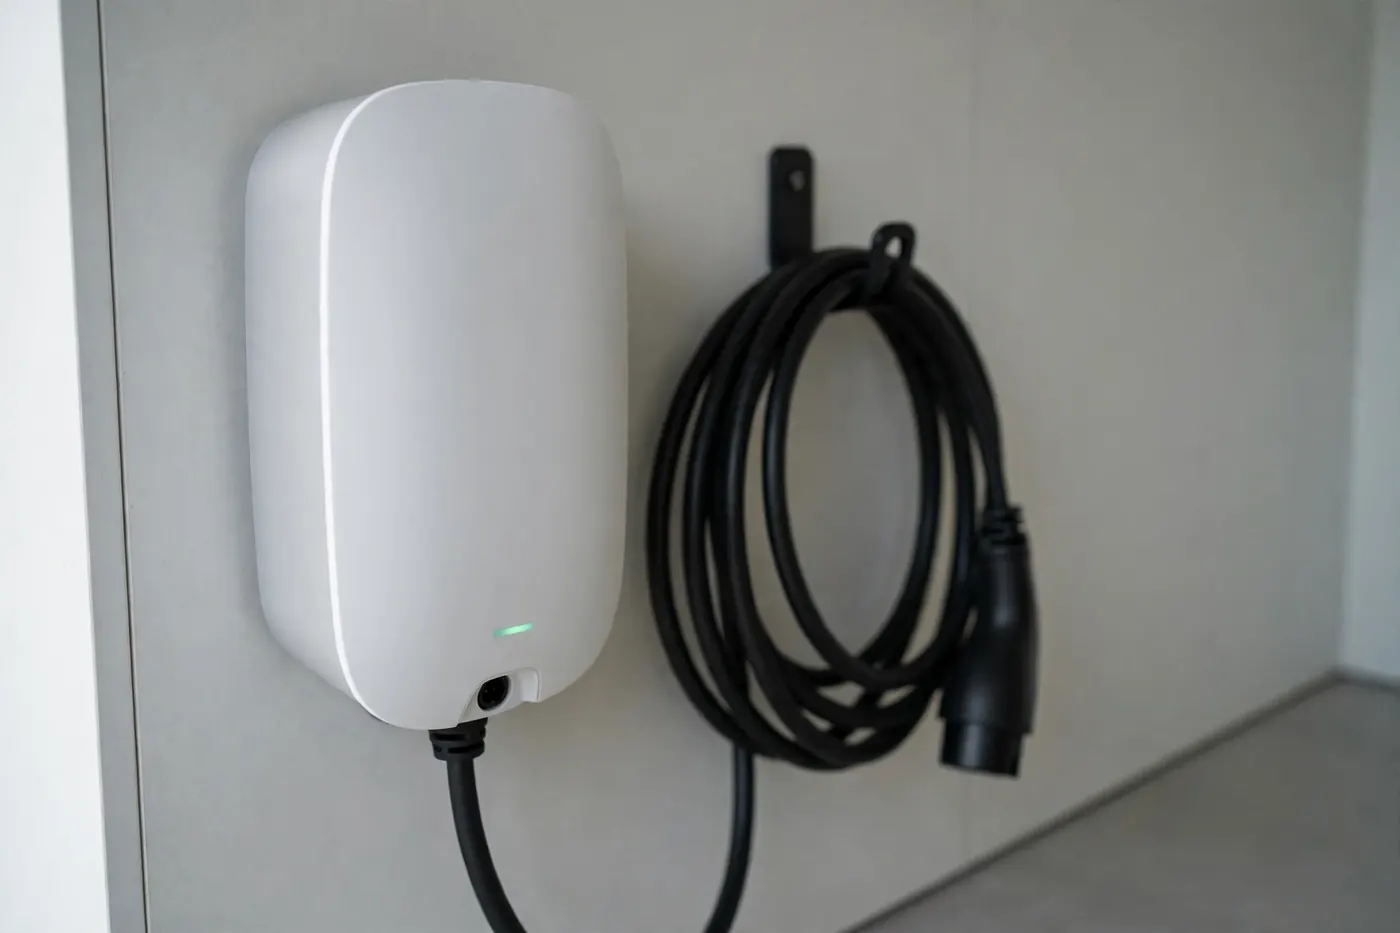
Two numbers matter: service size — commonly 100, 150, or 200 amps — and the calculated load already connected. An electrician performs a load calculation rather than counting breakers, because not all loads run at once.
Three outcomes are common. First, the panel has space and capacity, and the new circuit goes in directly. Second, it has capacity but no open spaces, which may be solved with a subpanel. Third, the service itself is undersized, in which case a panel upgrade or a load-managed charger is the responsible path.
Load management monitors household draw and adjusts charging so the combined load stays within limits. When the oven, dryer, and air conditioner run together, the car charges more slowly or pauses; overnight, it charges at full speed. For many 100-amp homes, this avoids a full service upgrade.
Planning for Two-EV Homes

Two-EV households are increasingly common in Wichita, and planning for the second car during the first installation saves money and wall space. You have three approaches: two separate circuits, which lets both cars charge at full speed but needs the most panel capacity; power sharing, where two chargers on one circuit split available current; or one charger on a rotation, which works when both drivers have modest daily mileage.
Two drivers each covering about 40 miles a day can often share a power-sharing setup overnight, while two drivers covering 80 to 100 miles lean toward separate circuits. Tell the electrician during the first visit if a second EV is likely — choosing a charger family that supports power sharing is a small decision on day one and a costly change later. Tesla households should also read our Tesla charger installation page.
Outdoor Installs and Kansas Weather
Outdoor charging here has to handle heat above 100 degrees, severe storms, winter ice, and wind-blown dust. Choose a charger rated for direct exposure if it will not be under cover, and confirm the cable stays flexible in cold weather. Mounting height should keep the holster above snow and splash zones, and exposed wiring must run in approved conduit with proper sealing where it enters the building.
Whole-home surge protection is also worth discussing with your electrician. Most smart chargers let you disable charging on a schedule or require app authorization, which prevents casual use of a driveway charger by others.
Choosing a Charger: Connector, Cord, and Smart Features

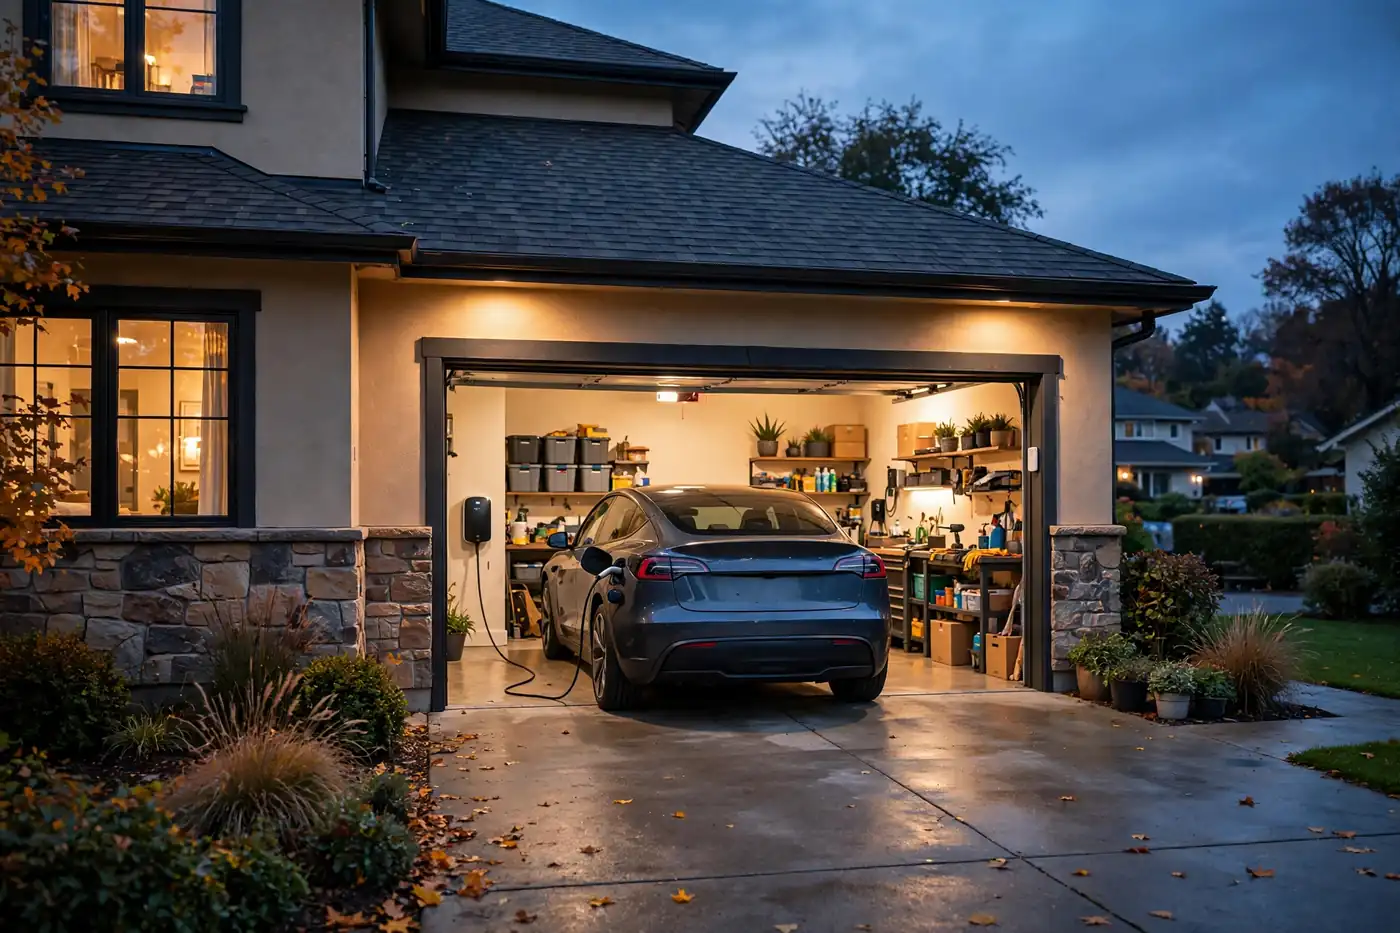
Three decisions shape daily use. First, connector type: most non-Tesla EVs use J1772, while Tesla vehicles and a growing number of newer models use NACS. Our NACS vs. J1772 guide explains how to match the charger to your current car without limiting the next one.
Second, cord length: measure from the mounting point to the charge port in your normal parking position, then add slack. Most home cords fall between 18 and 25 feet. Third, smart features: scheduling and app monitoring vary by model. None of these replace correct electrical work, so prioritize circuit quality and placement first.
If your needs go beyond a single-family garage, see commercial EV charging station installation for how larger projects are scoped.
Frequently Asked Questions
Do I need a permit to install an EV charger at home in Wichita?
Yes, for a new 240V Level 2 circuit, a permit and inspection are required. In the Wichita area, permits are handled through MABCD, the Metropolitan Area Building and Construction Department. Your electrician typically applies for the permit as part of the job and schedules the inspection after installation.
Any new circuit, outlet, or panel work should be permitted. Ask the electrician during the assessment to confirm what your project requires.
How long does a home EV charger installation take?
The hands-on work for a straightforward garage project often takes a few hours on a single visit. Projects involving a panel upgrade, a long run through finished walls, or trenching to a detached garage take longer and may span more than one visit, plus inspection scheduling.
The full timeline also includes the site assessment and permit processing through MABCD, so your electrician will give a realistic sequence after seeing your home.
Where should a home EV charger be placed in the garage?
Place it on the wall closest to your vehicle's charge port in your normal parking position, so the cord reaches with comfortable slack and does not cross your main walking path. Consider how you park in winter and what else shares the wall — storage or a workbench can shift the spot by a few feet. There is no single correct spot for every garage; the right answer comes from walking through your routine with the electrician.
Can a charger be installed if my garage is detached?
Yes, in most cases. A detached garage needs a power feed sized for the charger, which may already exist if the garage has a subpanel, or may need to be added. Adding a feed can involve trenching underground conduit or an overhead run, along with proper grounding for the separate structure. Distance and any concrete between the house and garage add work, so a site visit is essential to confirm whether the existing feed can support charging.
What happens if my electrical panel is already full?
A full panel does not automatically end the project. The electrician will perform a load calculation to see whether your service has capacity even if breaker spaces look full. Options can include reorganizing the panel, adding a subpanel, using a load management device, or upgrading the panel or service. Which option fits depends on your service size, your other large appliances, and whether you expect a second EV.
Ready to Charge at Home in Wichita?
Home charging is the biggest quality-of-life upgrade for EV ownership — you stop planning around charging and simply plug in when you get home. Whether you need a garage circuit, help with a full panel, a two-vehicle setup, or an outdoor installation, the next step is a site visit.
Wichita EV Charger connects you with an independent local electrician for assessment, permitting through MABCD, and installation. In plain terms, that is what this service is: if you have been searching for an ev installer near me who actually knows Wichita panels, permits and neighborhoods, the match starts here. Browse services, read the comparison of hardwired versus plug-in charging, or go to our contact page to get started.
For work beyond EV charging — such as panel work or lighting — our sister site covers a wider scope: see Wichita electrician services for broader electrical help across Wichita.